Installation
Pre-requisites
Before installing Wallaby, there are a few external dependencies that need to be installed:
- For supported editors with a Wallaby extension, your editor must be installed before installing Wallaby.
- Node.js must be installed before starting Wallaby for the first time (we recommend using the LTS version).
- Google Chrome must be installed if you want to use Wallaby to run your browser-based tests.
Visual Studio Code
To get started, you need to install Wallaby.js Extension from your editor (using Extensions: Install Extension command or via the Extensions sidebar).

After the extension is installed, Wallaby Core will be automatically downloaded and installed. Please note, that the very first time Wallaby needs to download and install its dependencies, so it may take a minute or two. Further updates are much faster. The notification is displayed when the installation is finished.
Once the extension is installed, you may read the tutorial to get started.
Node.js
Your system needs to have node.js installed (and set in PATH so you may run node from terminal/command line) to run Wallaby for VS Code, you may download and install node.js from node website.
If you have multiple versions of node.js installed or don’t have node path in your PATH, and you would like Wallaby to run with a specific version (for example if you are using nvm), you may use wallaby.node setting in your settings.json file to specify the full path to node.js executable file, for example:
// Place your settings in this file to overwrite the default settings{ ... "wallaby.node": "/Users/user/.nvm/versions/node/v4.1.1/bin/node"}JetBrains Editors
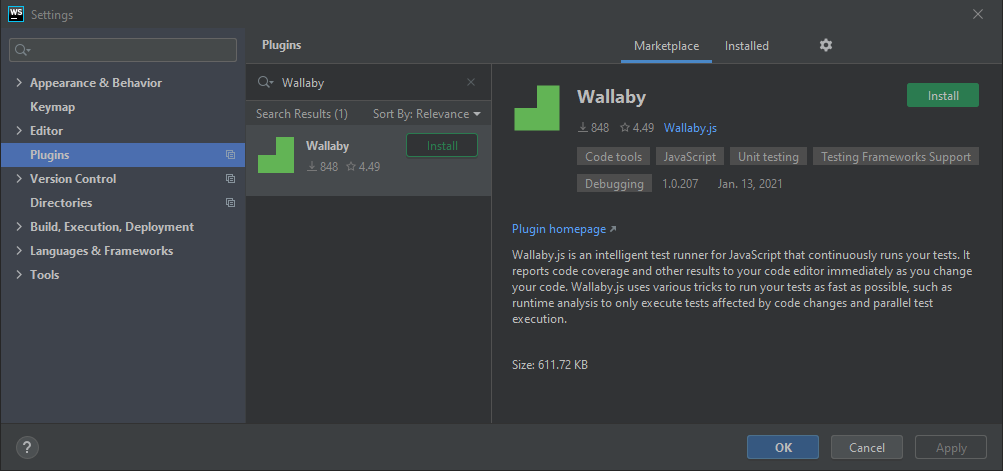
WebStorm, IntelliJ IDEA, PhpStorm, RubyMine, PyCharm, Rider
To get started, you need to install the Wallaby.js Extension in your editor from the JetBrains Marketplace. The JetBrains Marketplace can be accessed in your editor using File -> Settings -> Plugins -> Marketplace, then search for Wallaby and click Install. After installation, you will be prompted to Restart IDE.
Once the plugin is installed, you may read the tutorial to get started.
Please note that while we endeavor to support as many versions of JetBrains editors as possible, breaking changes to the JetBrains extension API limits the number of previous editor versions we can support. The latest version of the Wallaby supports all JetBrains editor versions from version 183.x (first released September 2018).
Node.js
Your system needs to have node.js installed (and set in PATH so you may run node from terminal/command line) to run Wallaby for IntelliJ.
If your PATH does not contain node.js or if you want to specify a different version of node to what is in your PATH, then you can
select the node executable that you would like Wallaby to run with in the Node.js configuration field.
Visual Studio
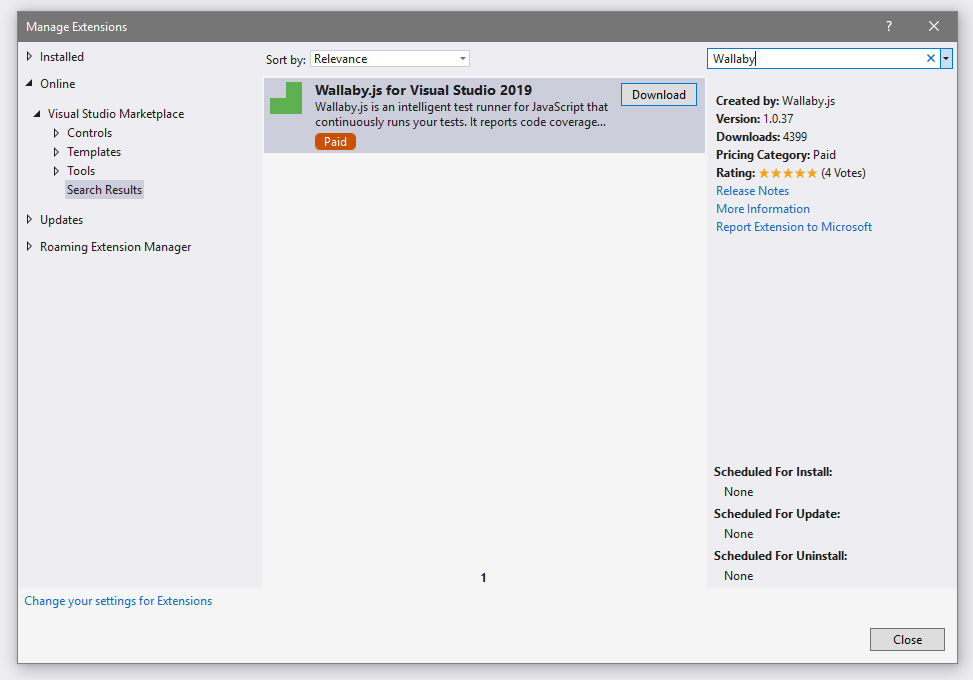
To get started, you need to install the Wallaby.js for Visual Studio extension from the IDE (using Extensions -> Manage Extensions menu or via the Ctrl+Q and Manage Extensions query).
In Visual Studio 2017 the menu item is named a little different: Tools -> Extensions and Updates.
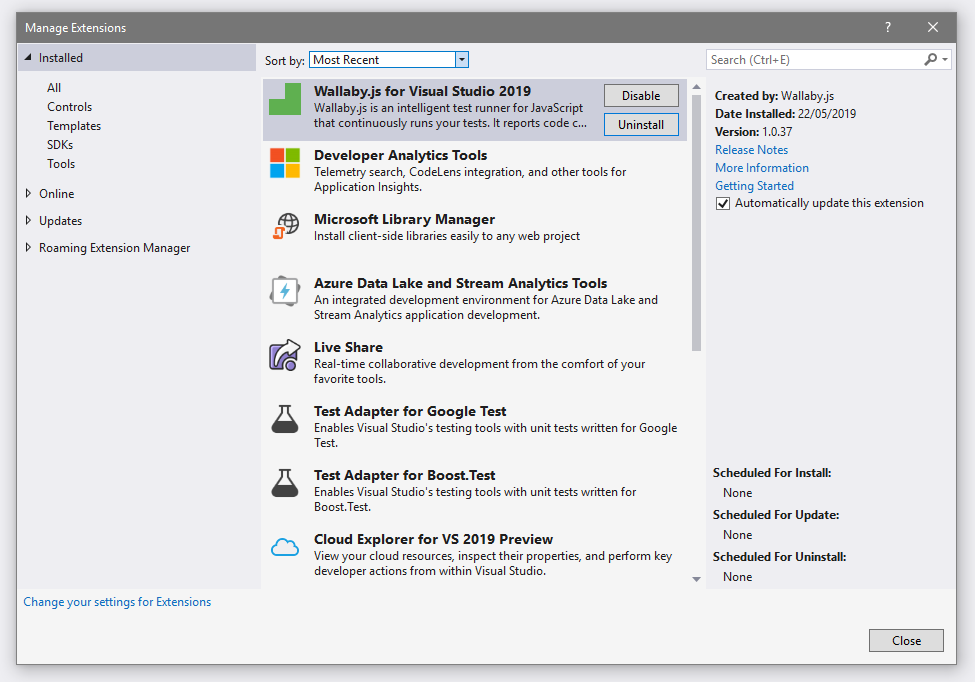
After the extension is installed, Wallaby.js may be managed like all other extensions. We recommend enabling the Automatically update this extension setting so that you receive all updates automatically.
Once the extension is installed, you may read the tutorial to get started.
Node.js
Your system needs to have node.js installed (and set in your PATH in such a way that you can run node from the terminal/command line) to run Wallaby.js for Visual Studio. You may download and install node.js from the node website.
If you don’t have node path in your PATH, or if you would like Wallaby.js to run with a specific version (for example if you are using nvm), you may create/edit the settings.json file in the %USERPROFILE%\.wallaby\ folder, and add the path to the desired node.js executable, for example:
{ "node": { "path": "c:\\Program Files\\nodejs\\node.exe" }}Sublime Text
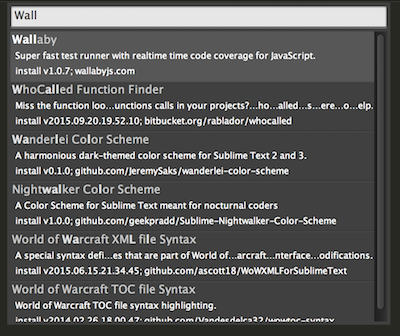
To get started, you need to install wallaby.js Sublime Text package from your editor via the Package Manager (Package Control: Install Package command).
If you do not see Wallaby listed in the Package Manager, you may
need to update your Package Control settings. Please run the Preferences: Package Control Settings command in Sublime and check that the channels property has the https://packages.sublimetext.io/channel.json value:
{ "channels": [ "https://packages.sublimetext.io/channel.json" ]}After the package is installed and started for the first time, Wallaby core and its dependencies will be automatically downloaded and installed.
Once the package is installed, you may read the tutorial to get started.
Node.js
Your system needs to have node.js installed (and set in PATH so you may run node from terminal/command line) to run Wallaby.js for Sublime Text, you may download and install node.js from node website.
If you have multiple versions of node.js installed or don’t have node path in your PATH, and you would like Wallaby to run with a specific version (for example if you are using nvm), you may use node_path setting in your User/Wallaby.sublime-settings file to specify the full path to node.js executable file.
{ "node_path": "your/nodejs/path/node"}GitGutter
If you are using GitGutter package for Sublime Text, please follow the instructions to make it not overwrite wallaby icons.
Standalone Mode
You may use Wallaby with any editor without an extension, including NeoVim, Vim, Zed, Emacs, and more.
The only thing you need to do to start using Wallaby is to install the @wallabyjs/cli npm package:
npm install -g @wallabyjs/cliNote: you may install @wallabyjs/cli as a project devDependency if you prefer.
Trial version
Wallaby is installed with a limited-time feature-complete demo license that periodically prompts you to restart your editor to continue using the tool. Free Trial licenses are also available that allow you to evaluate without prompts and restarts.